After seeing this idea on pintrest (best/worst site ever) I decided to try it out. I really like how it turned out and it cost under $10 to make)
Materials needed:
A picture frame with glass
Paint swatches from the hardware store
Glue
Ruler
Pencil
scissors
Hammer/Nails to hang it
Dry erase marker (to write on the glass when you are done)
 |
| Gather all of your materials and lay it out, I struggled at first to find the size frame I wanted that would fit where I wanted it because of the space I had to hang it |
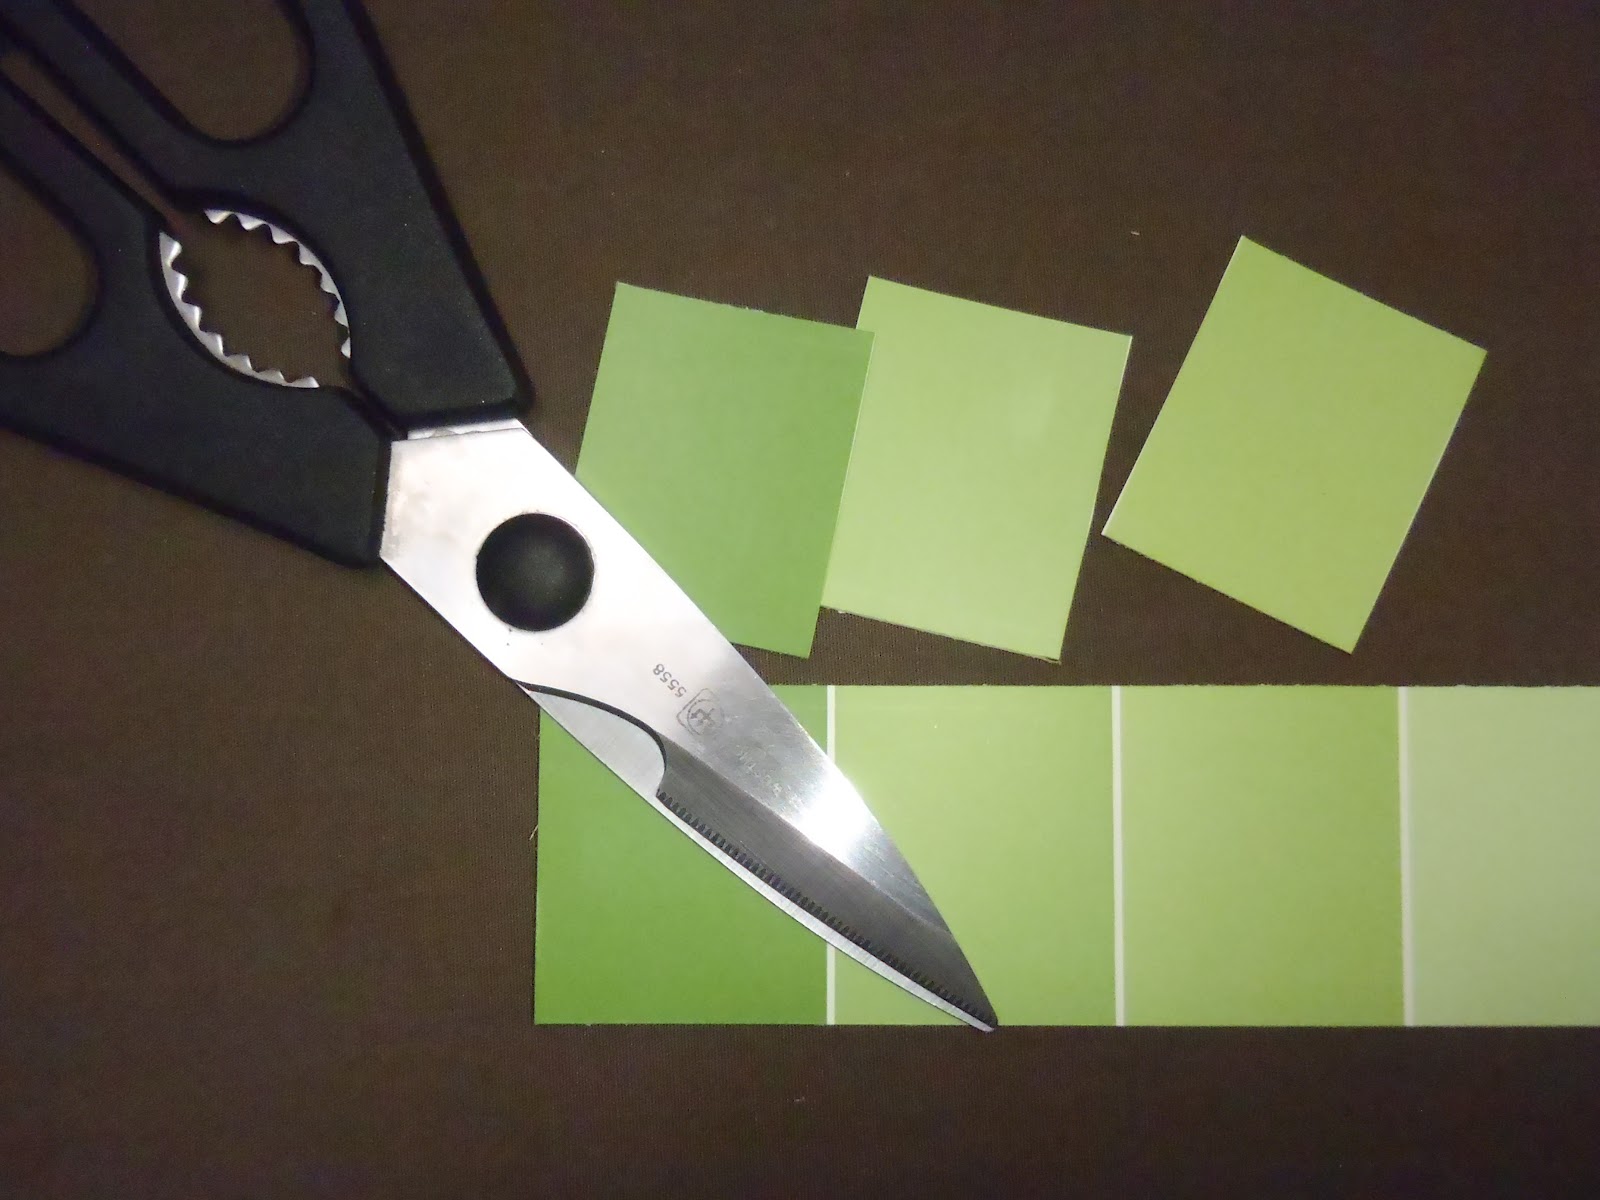 |
| Cut the paint swatches up |
 |
| measure out the space of what you have with your frame you will need 7 columns and 6 rows, plus one for the top for the name of the month. |
 |
| Lay it all out and glue it on. I had a left over paint swatch so I put it at the top for the month name |
 |
| put it back together |


See how sad that area was by the back door? It looks so much better with it up, and of course my birch bark pencil holder. Hubby and I now have a "command center."
I hope you enjoy making this as much as I did, and whoever thought a picture frame, free paint swatches and a dry erase marker.
No comments:
Post a Comment